
Bulbs Part II: Lifting Tender Bulbs
- SEB

- Nov 6, 2019
- 3 min read
Your dahlias and cannas were spectacular this summer. They didn't just grow and bloom, they flourished. Now that we've had a few frosts they look horrible like shadows of their former selves. You cringe every time you see the cold-damaged leaves and cross your fingers that you'll be able to get the same varieties next year. Sound familiar?
Rather than betting on finding the exact same variety in the spring why not store your precious plants over winter. Digging up (lifting) tender bulbs and storing them inside during winter is simple and requires little work.
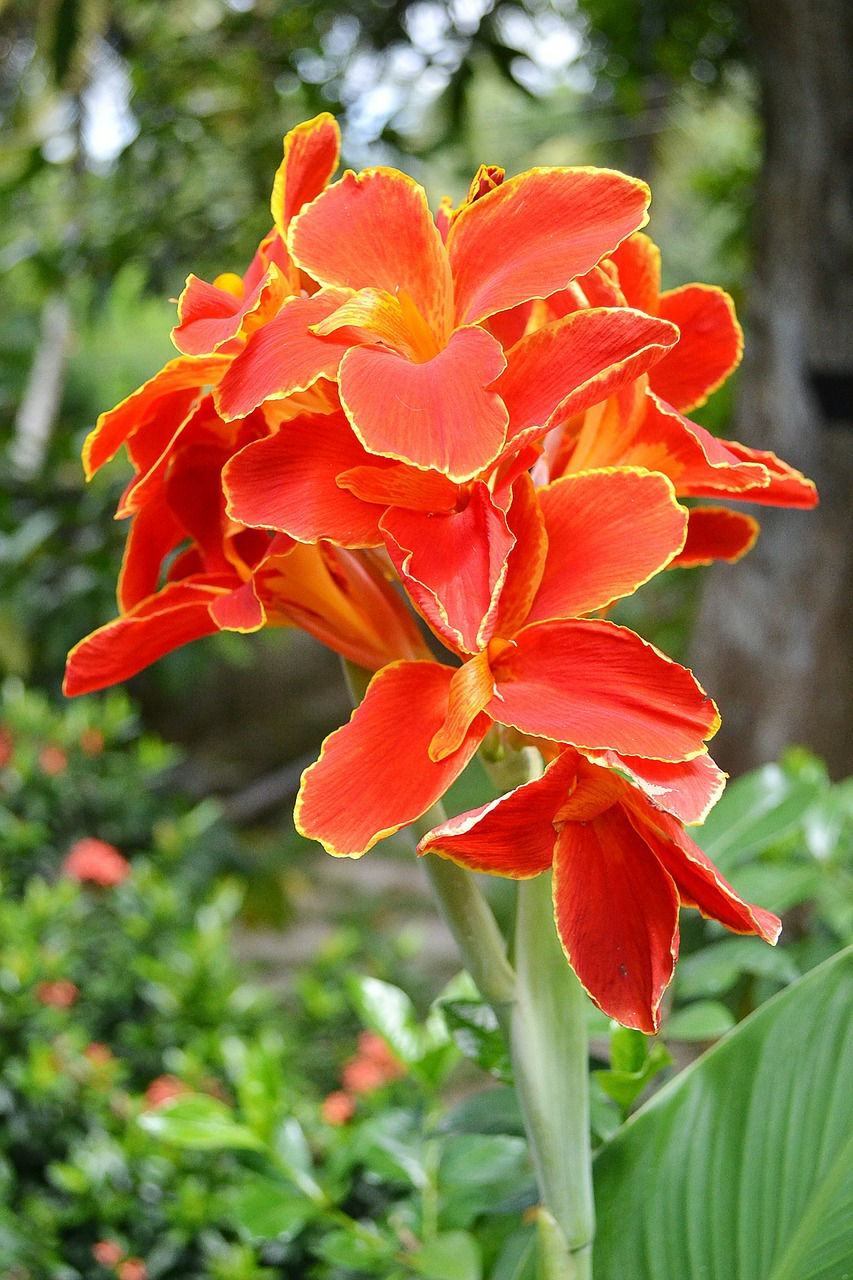
We will use a canna as our guide, but this method can be used with any bulb, including dahlias. (Yes, cannas are not "bulbs" they are rhizomes and dahlias are tuberous. For more information on bulbs read the post "Bulbs Part I".)
Once you have had a frost and foliage has died back it is time to lift the plants before the ground completely freezes. If you have one use a garden fork to remove the plants. Fork tines are less likely to severely damage the bulb than a shovel. If you only have a shovel start by digging further away from the plant stalk.

Place the fork a few inches away from the base of the plant and gently press into the ground. If you feel resistance from something you have hit, do not force the tool. Remove the tool from the soil and move further away from the stalk. Using the fork work your way around the plant. Cannas are shallow rooted and are easily lifted. Gently and slowly lift the plant from the soil.

Once the plant is out of the ground you can see all the fibrous roots and new growth.

The next step is to free the rhizome from soil. Go slowly and be careful. Using your hands gently brush off soil. Take care that you don't bruise the rhizome. You can trim the thick fibrous roots to a few inches. If a piece of rhizome accidentally breaks off just put it to the side. As long as the piece is healthy it could grow into a full rhizome next year.

Remove the rest of the soil by gently spraying the rhizome with a garden hose. Once the majority of the soil has been removed cut the stalk to about three inches. This creates a nice handle for the plant. Move your clean rhizomes to an area out of direct sunlight and inside safe from cold weather where they can dry. This could be a garage, basement, or closet. Drying can take from a couple of days to a week depending on room conditions. Drying allows the cannas to cure. Curing helps to toughen the skin on the rhizome which helps prevent rot.

Once the rhizomes are completely dry it is time to store them. Place the cannas in a cardboard box, plastic tote (WITHOUT the lid), or even paper bags. You can wrap the rhizomes in newspaper, place them in shredded paper, or use thin layers of peat moss. The paper and peat moss help to absorb any additional moisture that is lurking. Store your boxes in a cool dry location where they will not freeze. Unheated basements are perfect. Check on them throughout the winter tossing any that are rotted or shriveled. Don't be surprised when you open the box in the spring for planting if some have sprouted.
Congratulate yourself on saving your precious plant and look forward to its growth next year.


Comments